This post contains affiliate links. We may earn a commission if you make a purchase through these links, at no extra cost to you. As an Amazon Associate I earn from qualifying purchases.
Ensuring your baseball batting helmet fits correctly is not just about comfort; it is the most critical step in protecting yourself or your young athlete from serious head injuries at the plate. A helmet that is too loose can shift upon impact, failing to absorb energy, while one that is too tight causes distraction and discomfort.
This guide provides a comprehensive, step-by-step process for measuring your head and selecting the right helmet size, with advice for both beginners and seasoned players.
Why Proper Baseball Helmet Fitting Matters
A well-fitted helmet is the primary defense against wild pitches, hard tags, and missed throws. The goal of a proper fitting is to create a snug, secure, and balanced fit, ensuring the shell and impact-absorbing liner function as intended.
- Safety First: Helmets must meet NOCSAE® standards (National Operating Committee on Standards for Athletic Equipment).
- Preventing Injuries: A properly fitted helmet should not move or rotate when you shake your head.
- Focus at the Plate: A properly fitted helmet allows you to focus on the ball rather than adjusting your gear.
Step-by-Step: How to Measure Your Head for a Baseball Batting Helmet
To find the perfect fit, you need to measure the circumference of your head. The process is similar to finding your fitted baseball cap size.
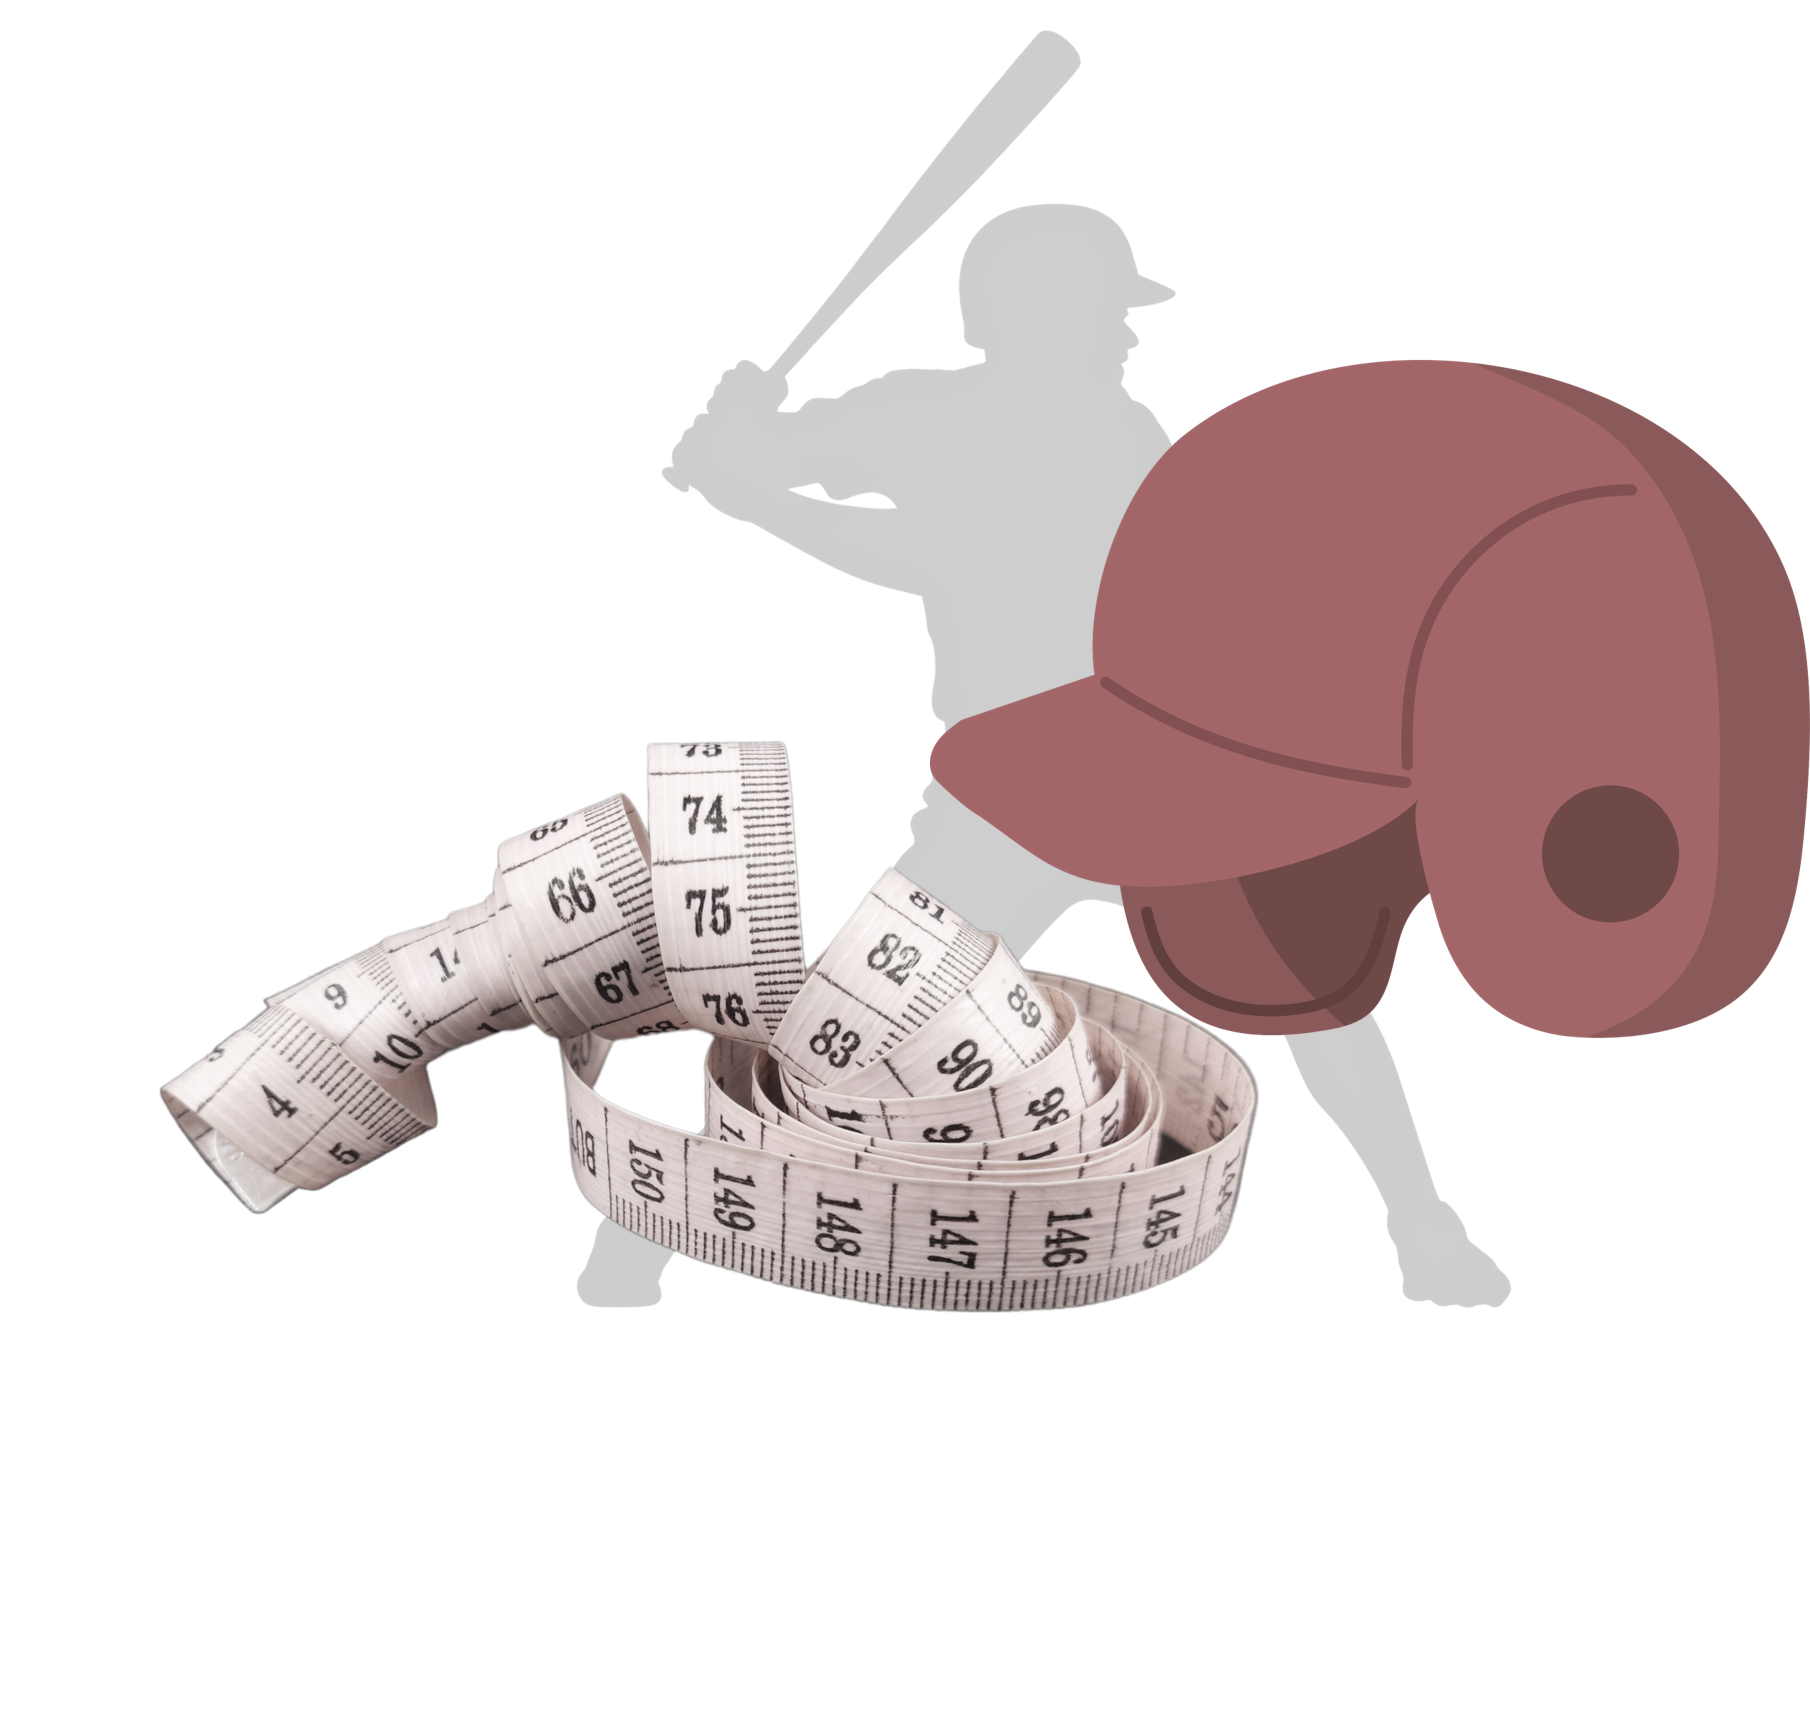
Tools Needed: A cloth measuring tape or a string and a ruler.
1. Position the Measuring Tape
Wrap the measuring tape around the widest part of your head—usually across the forehead, just above the eyebrows, and approximately 1/2 inch to 1 inch above your ears. Make sure the tape is level all the way around the head.
2. Take the Measurement
Measure the circumference in inches (or centimeters) and note the number. If you are using a string, mark where the ends meet and measure it against a ruler.
3. Compare with Helmet Size Charts
Rawlings, Easton, and EvoShield all use slightly different sizing, so always refer to the specific brand’s sizing chart.
- Youth/Junior: Often 20″ – 22 3/8″ (hat sizes 6 3/8 – 7 1/8).
- Adult: Usually 22″ – 24 3/4″ (hat sizes 7 – 7 7/8).
- Example Sizing: A 21-inch head measurement typically fits a small or junior helmet.
Assessing the Fit: The “Shake Test”
Once you have your helmet, it’s crucial to test the fit.
- The Shake Test: Place the helmet on your head and shake it from side to side and up and down. If it moves excessively, it is too big.
- The Position Test: The front edge of the helmet should sit approximately one inch (or one finger-width) above the eyebrows.
- No Gaps: There should be no significant spaces between the padding and the head.
- Check the Ears: The helmet should cover the ears properly.
Tips for Youth and Experienced Players
- Never Grow Into It: Do not buy a helmet that is too big with the intention of growing into it. A helmet that is too big will not properly protect the player.
- Hairstyle Matters: Try on the helmet with the same hairstyle you will wear for games.
- Do Not Wear Hats Underneath: Most batting helmets are designed to fit snugly on their own; wearing a baseball cap underneath can interfere with the fit and reduce safety.
Choosing the Right Type of Protective Headgear
Different levels of play and positions (like right-handed vs. left-handed hitters) require different helmet features.
Open Face vs. Jaw Guard Helmets
- Open Face: Offers maximum visibility, ideal for younger players or lower-speed pitching.
- Jaw Guard Helmets: A “C-flap” or jaw guard is becoming standard at higher levels to protect the jaw and lower face against high and tight pitches.
- Switch Hitters: Require double-flap helmets, which provide protection on both sides.
Popular 2026 Helmet Trends
- Rawlings MACH Series: Known for its sleek, low-profile design with high-impact foam, often pre-drilled for jaw guard attachments.
- EvoShield XVT 2.0: Popular for its compression-molded pads and low-profile shell that provides high-end comfort and protection.
- Tucci Potenza: Engineered with RFLX Impact Foam for superior shock absorption.
Maintenance and Safety Tips
- Replace After Impact: If a helmet sustains a significant hit, it should be replaced immediately, regardless of whether you can see damage.
- Check for Cracks: Periodically check your helmet for cracks in the outer shell and to ensure padding is still intact.
- Don’t Paint or Add Stickers: Modifying the shell with paint or non-approved stickers can void the NOCSAE safety certification.
By taking the time to properly measure your head and test your helmet, you ensure maximum safety whenever you step into the batter’s box.